Showing posts with label steps. Show all posts

18 April 2011

The Modern Matryoshka

Solzhenitsyn Front
Solzhenitsyn: front

Solzhenitsyn Side
Solzhenitsyn: side

Solzhenitsyn Back
Solzhenitsyn: back

Tolstoy Front
Tolstoy: front

Tolstoy Side
Tolstoy: side

Tolstoy Back
Tolstoy: back

Dostoevsky Front
Dostoevsky: front

Dostoevsky Side
Dostoevsky: side

Dostoevsky Back
Dostoevsky: back

Dolls Inside
Inside

06 April 2011

Finished!

Dolls-Group

Dolls-Bottom

After many intense hours, these dolls are all finished and ready to be shown this weekend. For Solzhenitsyn, Tolstoy, and Dostoevsky I also designed an official 'stamp' for the bottom of each one and included their names in English and Russian. When creating these, I decided to size each one according to his age, with the oldest (Dostoevsky) being the smallest. It was in no way to show partiality to Solzhenitsyn, but rather, as they are stacked inside each other, to show how each inspires the next.

The Modern Matryoshka opening reception is April 9th at 7pm
Click here for more details.

04 April 2011

Adding Detail... after detail... after detail

Solzhenitsyn Detail

Well I have now definitely spent a lot more time working on these dolls than I originally intended. I just kept dreaming bigger. For starters, I added special touches to the inside of each doll. I pasted in old Russian newspaper, and included images I found from these papers on the inside bottom of each 'cup'. Then to add a bit of much needed color, I painted the insides red.  On the outside, I decided to finish each doll off with a textured looking fabric sketch. You can see me working on Solzhenitsyn's herringbone jacket above. I had to put on two coats of lines in order to achieve the darkness I wanted, but I think it turned great. I will be adding textured 'fabrics' to the other two dolls as well and the next posting should be the finalized product.

Solzhenitsyn Halfway

Solzhenitsyn Inside

Tolstoy Inside

06 August 2010

The Agony of Drying Paint

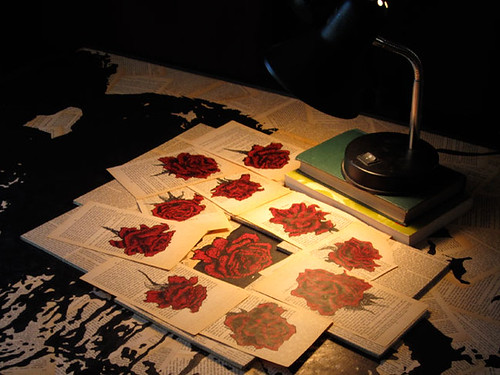
Well this is it! Aleksandr Solzhenitsyn's portrait is finished...well mostly. I still have to let the oil paint dry, which can take up to a week! I put it and the flowers under a heat lamp to hopefully speed up the process; hoping that it will be dry enough to take to the gallery tomorrow. After they all dry, the flowers have to be pasted to boards and everything needs to get a nice protective clear coat put over them so they will last.

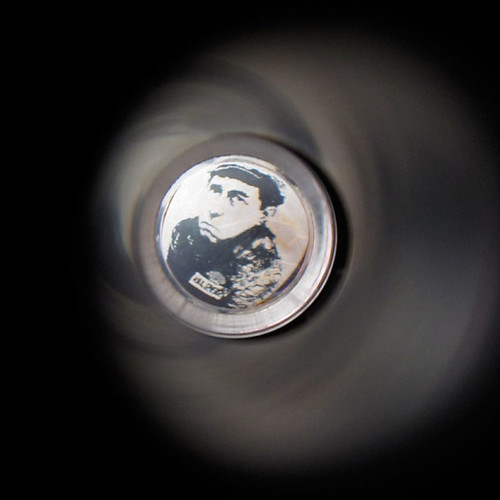
Unfortunately, I wont be putting up a picture of the finished portrait until after the show. It just looks so much better in real life, and I dont want to take away that element by showing you now. It would be like telling you how an intense movie ends... So instead Ill give you a little spy shot and a few other steps of things I worked on yesterday.

Only eight more days until the show!

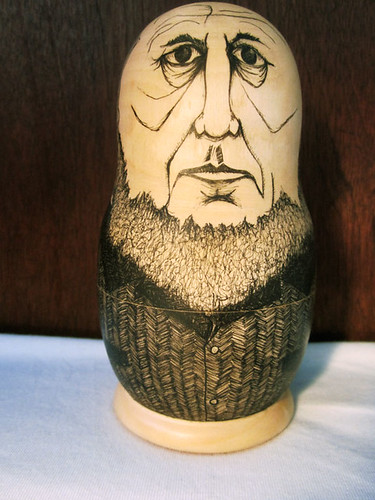
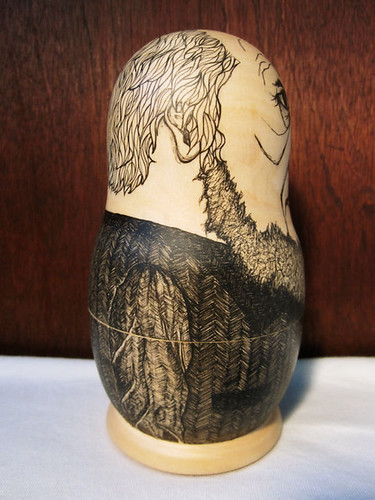
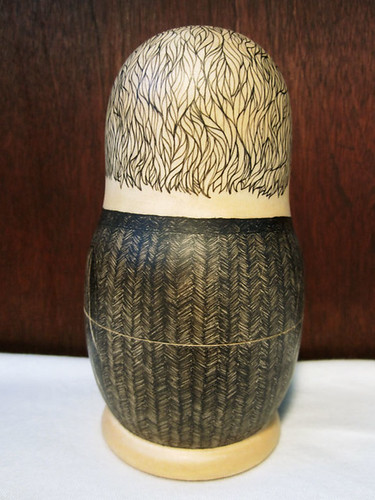
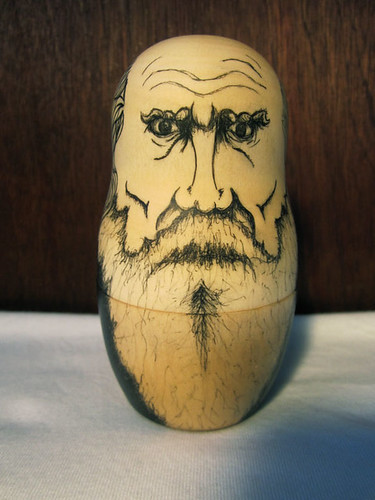
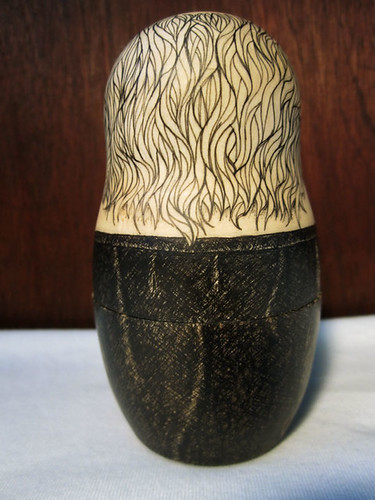
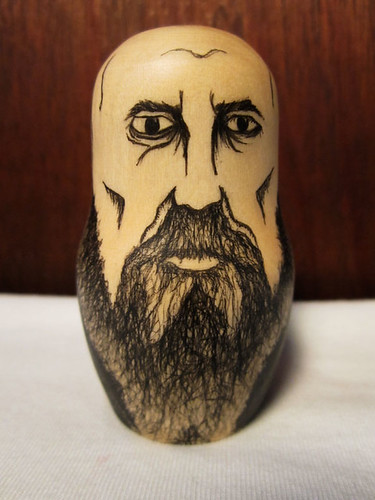
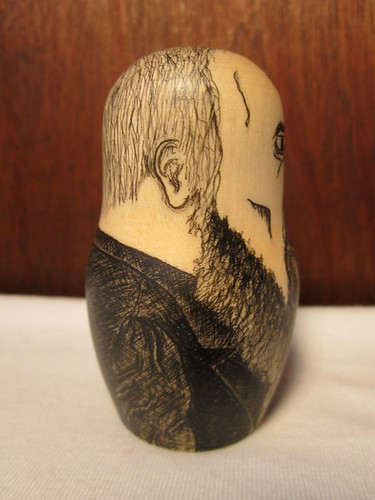
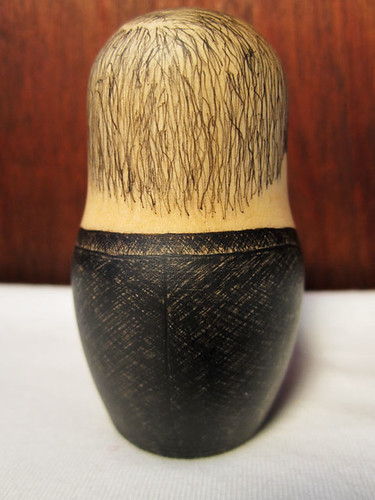
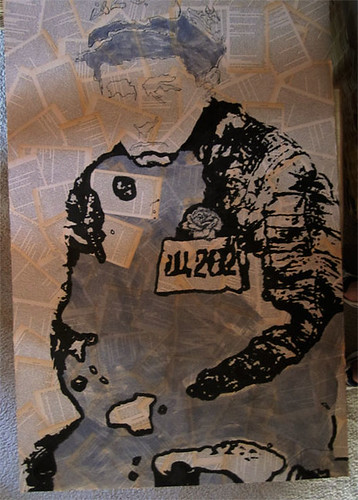
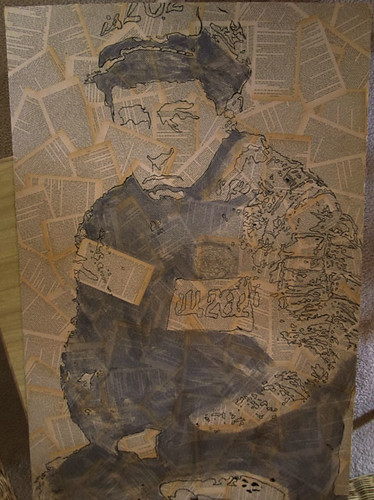
This is what I CAN show you of the portrait

Spyshot of AS

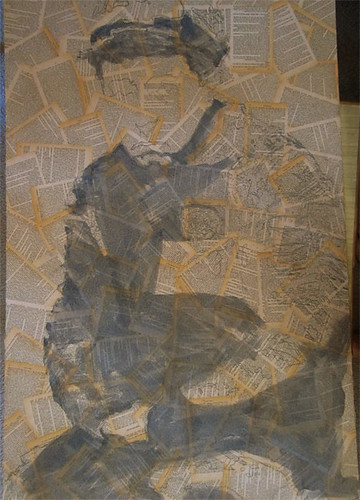
Here is the first step in redoing the flower in the portrait. I had to wipe off the oil paint first so I didnt smear it when I pasted the page over it.

New Flower Step 1

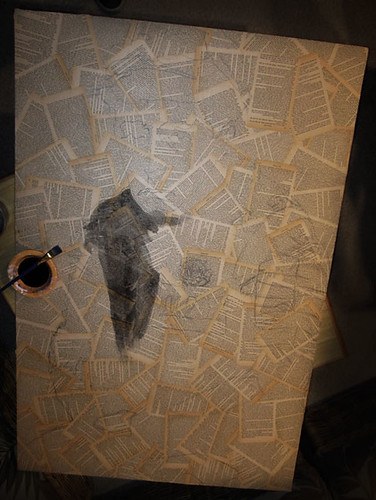
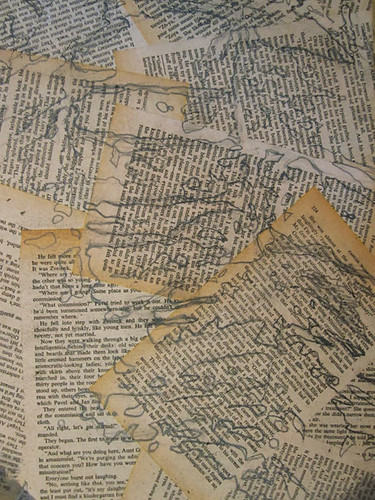
Covered up the old flower

New Flower Step 2

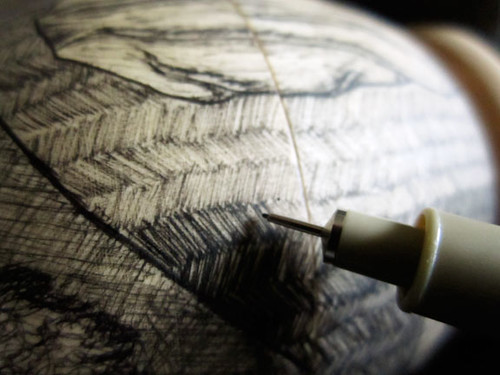
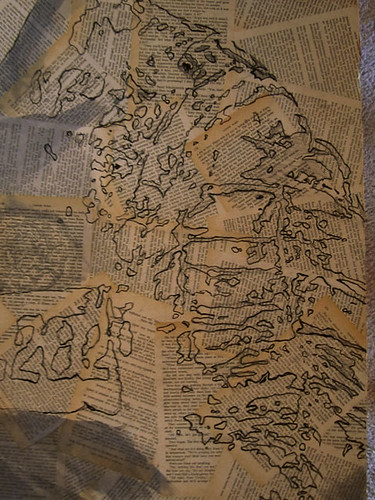
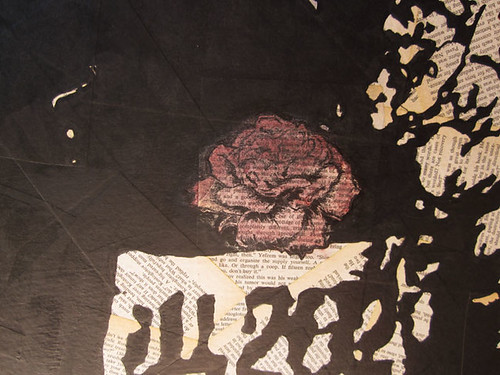
Now I start inking in the new, bigger flower
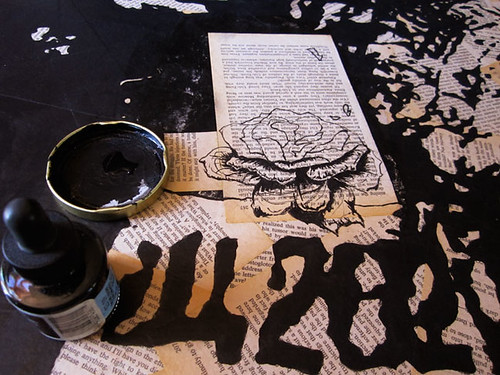
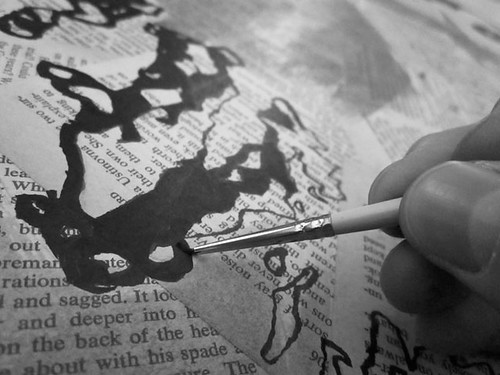
New Flower Step 3

Add a little paint

New Flower Step 4

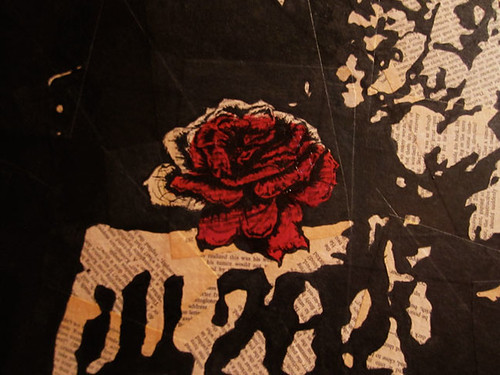
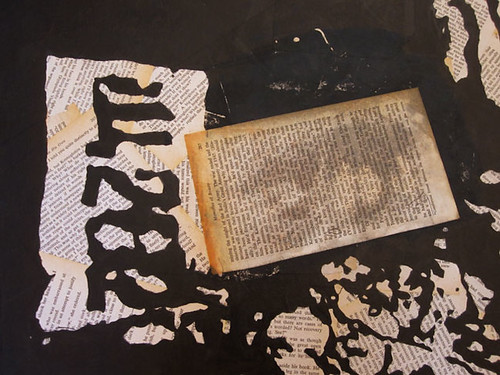
And let them all dry

New Flower Step 5

04 August 2010

Almost Finished...

After finishing up all the outlining, it was time to start filling in the body with black ink. I actually went back through and filled in all the smallest areas using that same fine point brush. I also used it to round out any detailed areas in preparation for a bigger brush. With artwork, I was always taught to use the biggest brush you can, and thats exactly what I did here. I used three different brush sizes to ink in all the areas. Below is as far as I got yesterday, that shoulder is responsible for most of my time...

My close friend and fellow world traveller has posted up Aleksander Solzhenitsyn's biography for this weeks Wikipedia Wednesday! Check it out here, and look at his site often. There is fresh and very entertaining posts daily and his music reviews are always right on. Thanks Brad!

And make sure you mark your calendars, call your friends, cancel your appointments, because Beneath the Broken Bottles and Cigarette Butts begins in 10 days!

Up close with the fine point brush.

Filling in Detail

Got the details in and even finished the flower. You can also see the pages I had to paste over for my late night shading mistakes. It all works out in the end... Now the body is ready for the big brush!

Almost finished

03 August 2010

Inking in the Outline

My next step, once I got everything in its proper place, is to ink in the outline. I am doing the whole portrait in ink because 1. its not thick like black paint 2. it blends really smoothly 3. it dries flat and doesnt show brush strokes. So basically Im going over all the lines I already drew, but with a bottle of ink and a very fine tipped brush. This actually took me most of the day to finish because this picture is huge and there is a lot of detail to it. Eleven days until opening night at the Rothick Arthaus!

On this day in 2008, Aleksandr Solzhenitsyn passed away. I hope this portrait will both honor his accomplishments and inform more people about who he was and the relentless stand he took against the Soviet Union.

Tools of the trade.

ink and brush

You can see there is an area I still have to do on his chest. Im adding a flower in there and I just haven't figured out how I want to do it...

Outlined

Detail shot of the sleeve after inking in the outlines. Can you find a penguin, a polar bear, a whale, and a map?

OutlineSleeveDetail

02 August 2010

A Complex Drawing

Now that I got all the pages pasted on a board, my next step is to start drawing Aleksandr. It was a full day just to get the outline and placement correct, and another half day for his shoulder. By the evening of the first day I was getting pretty tired and should've called it quits. Instead I got the idea to shade in the dark areas with a light ink wash so I could get a feel of how it will look. Afterward, I had to paste a few pages over the areas that should have stayed the page color...oops.

Penciled in the outline, and started to wash it with ink. Even there I had already painted over vital highlights. A few pages pasted over fixed it pretty easy though. You can also see the shoulder here is still pretty basic.

Pencilled In

Finished shading the big areas. These will be black. Although it was a bad idea, at least you can see what it will kind of look like... its hard being patient.

Shaded

His shoulder has so many little parts to it. It took me a long time and a lot of erasing to get it to look accurate and correctly shaped.

Pencil Detail